반응형
GitHub에 있는 AWX README.MD 설명을 따라서 설치해보면, 설치 중간에 에러가 발생해서 그런 부분을 회피하면서 설치하는 방법을 메모해봤다.
아래 명령어를 따라서 수행하면, 에러 없이 AWX가 잘 설치된다.
※ 주의
AWX는 Version 17.1.0 이전의 설치 방법과 Version 18.0.0 이후의 설치 방법이 전혀 다르다.
이 문서의 설치 방법은 Version 15.0.0 ~ 17.1.0만 유효하다. 다른 AWX Version은 이 방법대로 설치할 수 없다.
설치 환경
- OS: CentOS 7 (VM on KVM)
- CPU: 4 Core
- MEM: 8GB (실제로 설치해보니, 4GB만 있어도 충분하다. 단, 다른 App이 이 Host에서 같이 운영된다면 넉넉하게 8GB로 구성하는 것이 좋다)
- AWX Version: 17.1.0
설치 절차 (명령 따라하기)
Reference Docs: https://github.com/ansible/awx/blob/17.1.0/INSTALL.md
GitHub - ansible/awx: AWX Project
AWX Project. Contribute to ansible/awx development by creating an account on GitHub.
github.com
위 github의 INSTALL.md를 따라해도 되고, 위 문서를 명령만 요약한 아래 명령만 따라해도 잘 설치된다.
(긴 글을 읽는 것이 귀찮다면, 아래 명령을 쭉~ 따라하는 것이 마음이 편할 듯)
##  보안 수준을 낮춘다.
$  systemctl  stop     firewalld
$  systemctl  disable  firewalld

$  cat  /etc/sysconfig/selinux
...
SELINUX=disabled
...
$  setenforce 0
$  sestatus

##  Ansible 환경 구성
$  yum install -y epel-release
$  yum install -y yum-utils device-mapper-persistent-data lvm2 ansible git python-devel python-pip python-docker-py vim-enhanced wget net-tools

##  Docker Install은 Docker.io를 참고
##     https://docs.docker.com/engine/installation/

$  yum install dnf -y
$  dnf install git gcc gcc-c++ ansible nodejs gettext device-mapper-persistent-data lvm2 bzip2 python3-pip -y

$  dnf install -y 'dnf-command(config-manager)'

$  pip3 install --upgrade setuptools
$  pip3 install setuptools-rust
$  pip3 install wheel
$  pip3 install "pip>=20"
$  pip3 install docker-compose

## inventory file에 넣을 key 생성
$  openssl rand -base64 30
lv4Y2WfbqRrI/+/X+R9mFN/r7BsGTdEdZR7bG8Re

## AWX PKG를 다운로드하고, 설정하기
$  cd  /root/andrew
$  wget https://github.com/ansible/awx/archive/17.1.0.tar.gz
$  tar xf 17.1.0.tar.gz
$  ln -s awx-17.1.0/ awx
$  mkdir -p /var/lib/pgdocker
$  cd /root/andrew/awx/installer

## inventory file 설정하기
$  cat  inventory
localhost ansible_connection=local ansible_python_interpreter="/usr/bin/env python3"

[all:vars]

dockerhub_base=ansible

awx_task_hostname=awx
awx_web_hostname=awxweb
postgres_data_dir="~/.awx/pgdocker"
host_port=80
host_port_ssl=443
docker_compose_dir="~/.awx/awxcompose"

pg_username=awx
pg_password=awxpass
pg_database=awx
pg_port=5432

pg_admin_password=password

admin_user=admin
admin_password=password

create_preload_data=True

## 위에서 openssl 명령어로 만든 key를 이곳에 붙여 넣는다.
secret_key=lv4Y2WfbqRrI/+/X+R9mFN/r7BsGTdEdZR7bG8Re

awx_alternate_dns_servers="8.8.8.8,1.1.1.1"

project_data_dir=/var/lib/awx/projects

$

## Ansible Playbook을 통해 deploy
$ ansible-playbook -i inventory install.yml
...

##
## NOTE: 오랜 시간이 걸리기 때문에 Terminal Window를 1개 더 열어서
##       아래와 같이 container image가 생성되고, container가 구동되는 과정을 확인하는 것이 좋다.
##       (나는 대략 5분 정도 시간이 걸렸다)
##       시간이 오래 걸리는 이유는 container image를 internet을 통해서 pulling해야 하기 때문이다.
##

$  docker image ls
REPOSITORY                TAG        IMAGE ID       CREATED         SIZE
tianon/postgres-upgrade   10-to-12   f81b5bb17600   4 days ago      403MB
postgres                  10         5949e493c793   4 days ago      200MB
postgres                  12         905214d6fdc5   4 days ago      371MB
redis                     latest     7faaec683238   4 weeks ago     113MB
centos                    8          5d0da3dc9764   2 months ago    231MB
ansible/awx               17.1.0     599918776cf2   8 months ago    1.41GB

$  docker container ls -a
CONTAINER ID   IMAGE                COMMAND                  CREATED         STATUS         PORTS                                   NAMES
df511c34e75e   ansible/awx:17.1.0   "/usr/bin/tini -- /u…"   5 minutes ago   Up 5 minutes   8052/tcp                                awx_task
0d4247b6dd14   ansible/awx:17.1.0   "/usr/bin/tini -- /b…"   5 minutes ago   Up 5 minutes   0.0.0.0:80->8052/tcp, :::80->8052/tcp   awx_web
d4f4b8d44901   postgres:12          "docker-entrypoint.s…"   5 minutes ago   Up 5 minutes   5432/tcp                                awx_postgres
e1af073eccee   redis                "docker-entrypoint.s…"   5 minutes ago   Up 5 minutes   6379/tcp                                awx_redis
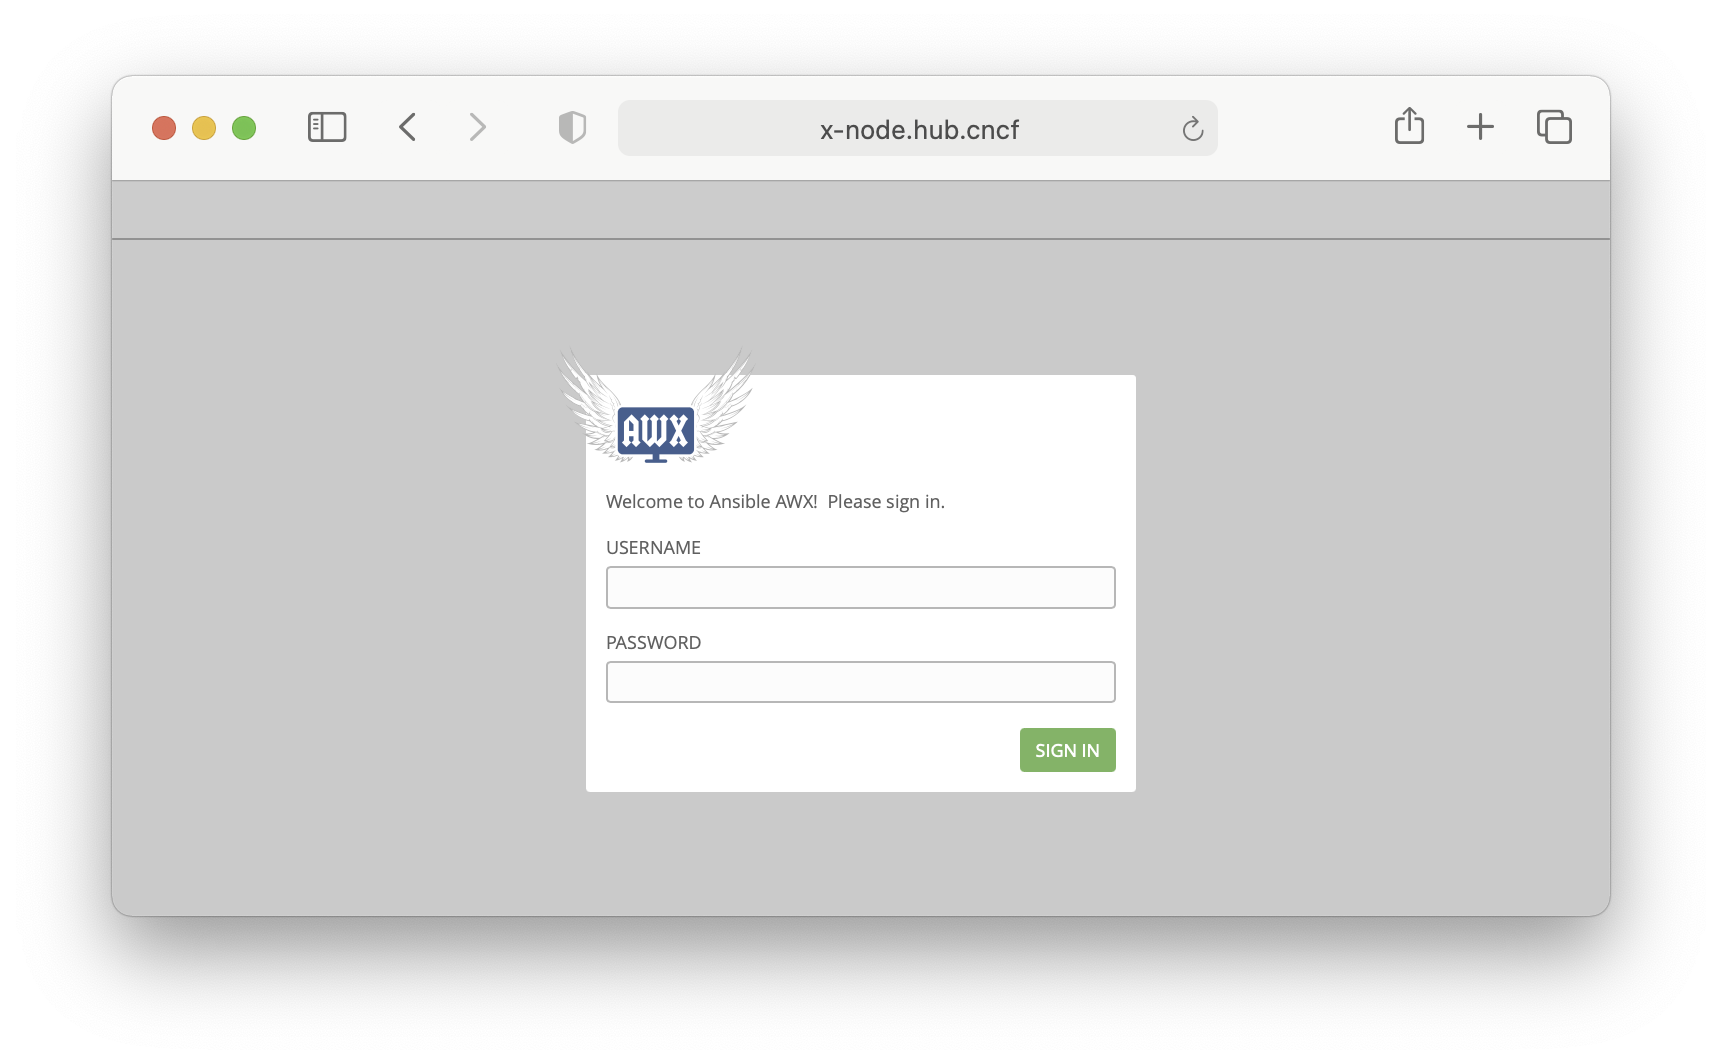
위와 같이 awx, redis, postgres 등 container가 구동되면, Web Browser를 통해서 AWX Web UI에 접속한다.


'CentOS' 카테고리의 다른 글
| YUM 또는 DNF Repository 추가 방법 (0) | 2022.06.22 |
|---|---|
| OpenStack, OCI, AWS 에서 VM Instance를 위한 UserData 설정 (init-cloud 스크립트) (0) | 2022.06.21 |
| How to use Ansible and Playbook (0) | 2021.11.12 |
| Install OS with PXE and kickstart (0) | 2021.11.12 |
| Samba(SMB) on CentOS (0) | 2021.07.10 |